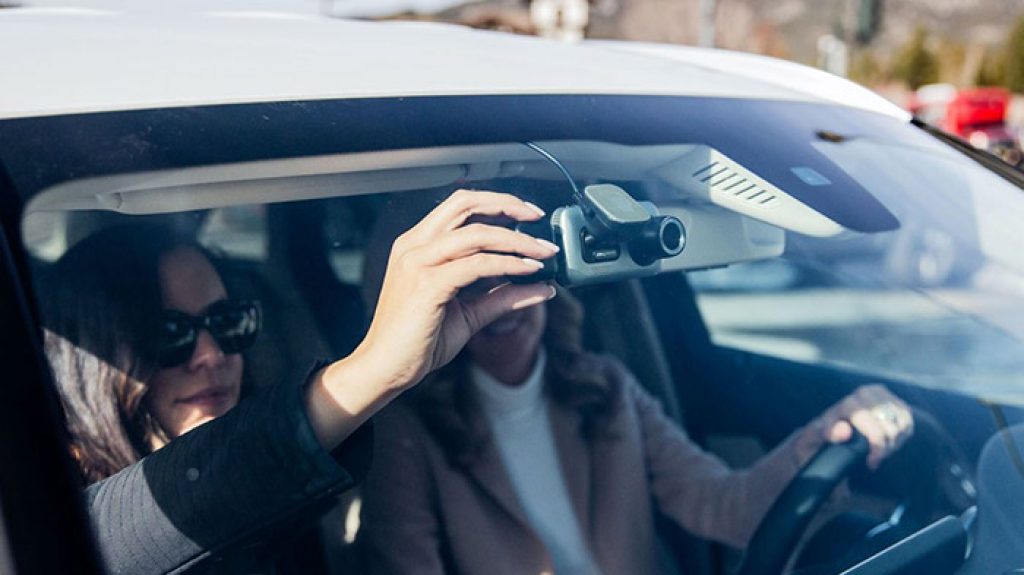
If you’re interested in protecting your car from accidents or theft, installing a dash cam is an excellent option. A hardwired dash cam can offer better performance and safety than a battery-powered one. However, installing a hardwired dash cam may seem like a daunting task, especially if you don’t have much experience with electrical work. In this article, we’ll guide you through the steps of hardwired dash cam installation, so you can have a hassle-free experience and ensure that your car stays protected.

Understanding the Basics of Hardwiring a Dash Cam
Before we get started with the installation process, it’s essential to understand the basics of hardwiring a dash cam. There are three main components to consider: power source, ground connection, and wiring.
Power Source
A hardwired dash cam requires a constant power source, which means you’ll need to connect it to a fuse box or a wire that receives power even when the car is turned off. You’ll also need to choose the correct fuse to avoid damaging the dash cam or your car.
Ground Connection
The ground connection is equally important since it ensures that the dash cam receives a steady flow of electricity. You’ll need to connect the ground wire to a metal surface in the car’s chassis.
Wiring
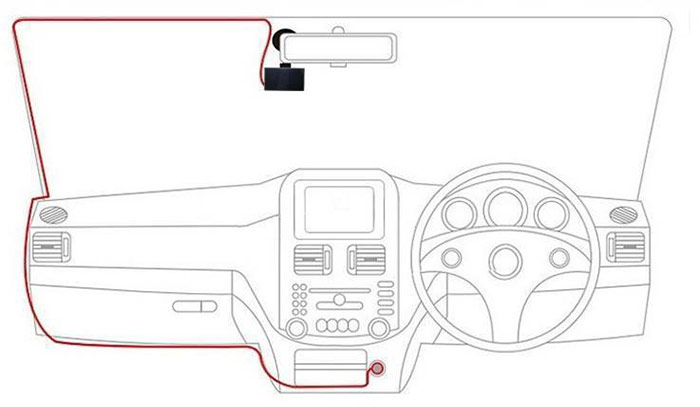
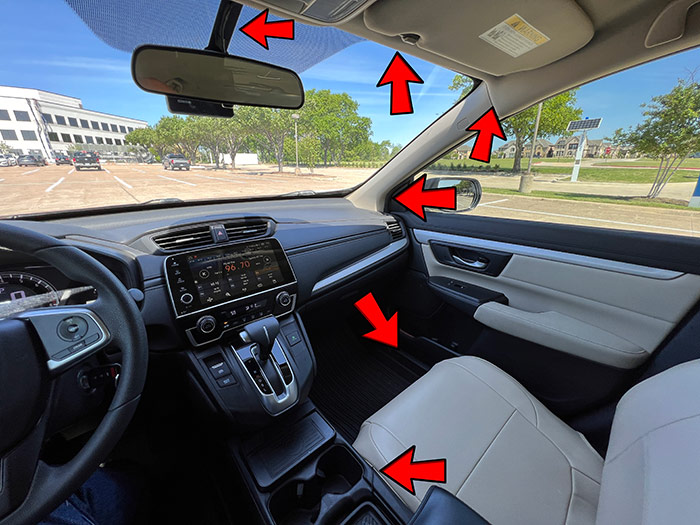
Finally, you’ll need to route the dash cam’s wiring through the car’s headliner, A-pillar, or dashboard, depending on the model and your preference. Make sure the wiring is secured and hidden to avoid damage or interference with the car’s controls.
Preparing for Hardwiring a Dash Cam
Now that you understand the basics, let’s move on to the preparation phase.
Choosing a Dash Cam
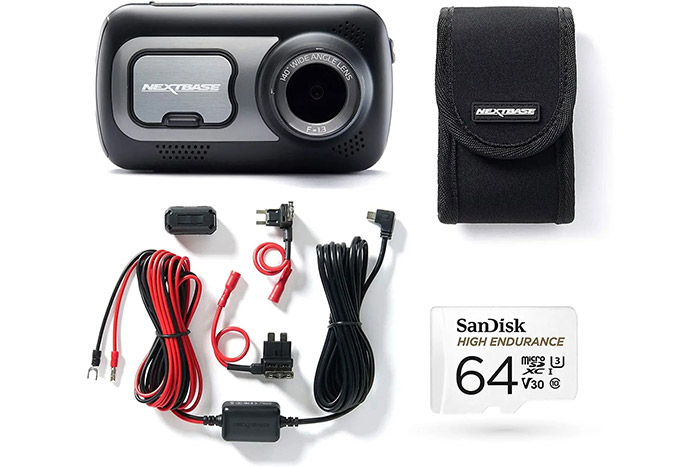
The first step is to choose a dash cam that fits your needs and budget. There are various options available on the market, from budget-friendly models to high-end ones with advanced features. Make sure to consider factors such as video quality, storage capacity, and connectivity options before making a purchase.
Gathering Tools
You’ll need a few tools to install the dash cam properly. These include wire cutters, crimping pliers, a multimeter, a fuse tap, and a fuse puller. Make sure to have all the necessary tools before starting the installation process.
Choosing a Location
You’ll also need to choose a suitable location for the dash cam. Ideally, you’ll want to place it where it won’t obstruct your view or interfere with the car’s controls. Some common locations include the rearview mirror, the windshield’s edge, or the aperture of the dashboard.
Hardwiring a Dash Cam: Step-by-Step Guide
Now that you’ve gathered all the necessary tools and chosen a suitable dash cam, it’s time to start the hardwiring process. Follow these steps to install your dash cam safely and correctly.
Step 1: Turn Off the Engine and Disconnect the Battery
Start by turning off the engine and disconnecting the battery. This is an essential safety measure that will prevent any electrical accidents from occurring during the installation process.
Step 2: Route the Dash Cam’s Wiring
Next, route the dash cam’s wiring through the car’s headliner, A-pillar, or dashboard, depending on the model and your preference. Make sure to secure the wiring with zip ties or adhesive clips to avoid any interference with the car’s controls.
Step 3: Connect the Power Cable to the Fuse Box
Locate the fuse box and identify a suitable fuse that corresponds to a wire that receives power even when the car is turned off. Use a fuse tap to connect the power cable to the selected fuse, making sure to crimp the wires tightly and neatly.
Step 4: Connect the Ground Cable to a Suitable Metal Surface
Connect the ground wire to a suitable metal surface in the car’s chassis. Make sure the surface is clean and free of any rust or debris that could interfere with the electrical connection. Use a ring terminal and a screw to secure the ground wire tightly to the metal surface.
Step 5: Install the Dash Cam
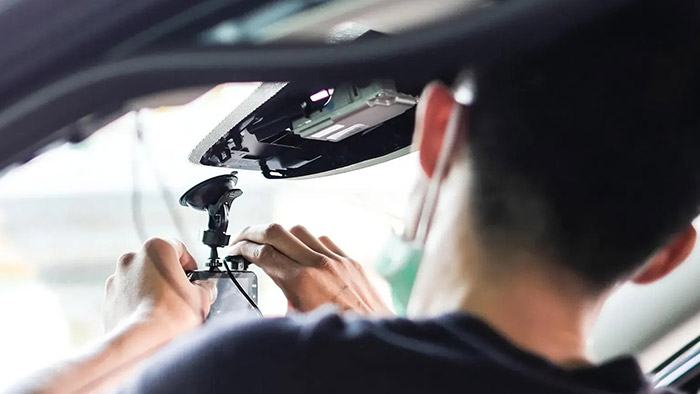
Finally, install the dash cam in the chosen location, making sure it’s secure and won’t obstruct your view while driving. Use the adhesive pad or suction cup provided with the dash cam to attach it to the windshield or dashboard.
Testing Your Hardwired Dash Cam
Once you’ve completed the installation process, it’s essential to test your dash cam to ensure that it’s working correctly.
Step 1: Reconnect the Battery and Turn On the Engine
Reconnect the battery and turn on the engine to activate the dash cam. Check that the dash cam is receiving power by looking for a power indicator light or checking the device’s screen.
Step 2: Check the Dash Cam
Verify that the dash cam is recording correctly by checking the footage after driving for a while. Make sure the video quality is good and the audio is clear. You can also connect the dash cam to a computer or mobile device to view the footage and adjust any settings if necessary.
Common Problems and Solutions
If you encounter any problems during the installation process, don’t panic. Here are some common issues and their solutions.
Problem 1: The Dash Cam Does Not Turn On
If the dash cam doesn’t turn on, it could be due to a faulty power connection or a blown fuse. Check the wiring and fuse connections and replace any damaged parts.
Problem 2: The Dash Cam Turns On and Off Intermittently
If the dash cam turns on and off intermittently, it could be due to a loose or unstable power connection. Check the wiring and fuse connections and make sure they’re secure and tight.
Conclusion
Installing a hardwired dash cam may seem intimidating, but with the right tools and a step-by-step guide, it’s a straightforward process that anyone can accomplish. A hardwired dash cam offers better performance and safety than a battery-powered one, and it’s a worthwhile investment for anyone looking to protect their car from accidents or theft.
FAQs
[wpsm_accordion][wpsm_accordion_section title=”Is hardwiring a dash cam better than using a battery-powered one?”]Yes, hardwiring a dash cam offers better performance and safety than using a battery-powered one.[/wpsm_accordion_section][wpsm_accordion_section title=”Can I install a dash cam by myself, or do I need professional installation?”]You can install a dash cam by yourself, but if you’re not comfortable with electrical work, it’s best to hire a professional.[/wpsm_accordion_section][wpsm_accordion_section title=”What dash cam should I choose?”]The best dash cam for you will depend on your needs and budget. Consider factors such as video quality, storage capacity, and connectivity options before making a purchase.[/wpsm_accordion_section][wpsm_accordion_section title=”Can I move my hardwired dash cam to another car?”]Yes, you can move your hardwired dash cam to another car, but you’ll need to repeat the installation process.[/wpsm_accordion_section][wpsm_accordion_section title=”Is hardwiring a dash cam legal?”]Yes, hardwiring a dash cam is legal, but make sure to comply with local regulations and avoid obstructing your view while driving.[/wpsm_accordion_section][/wpsm_accordion]


