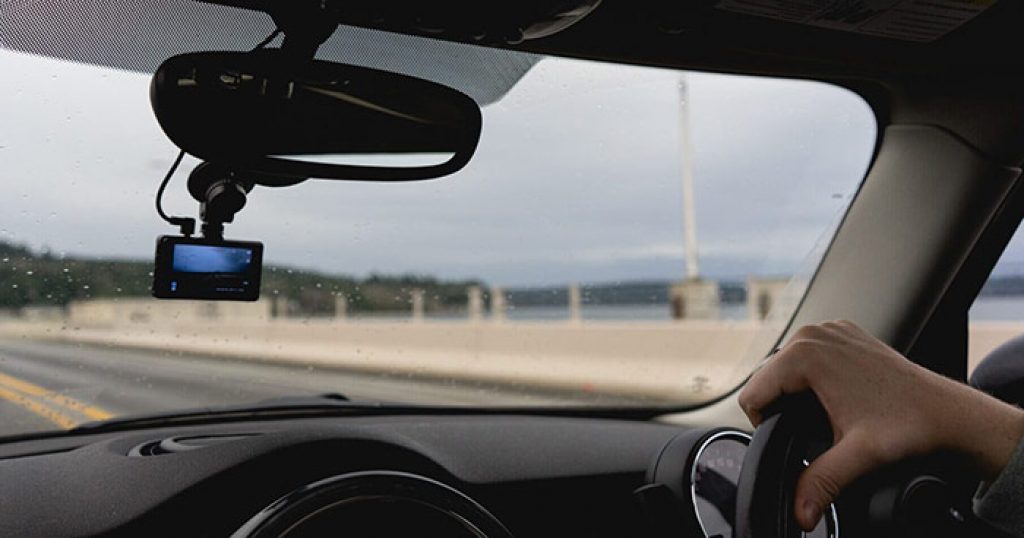
If you want to increase your safety while driving or you simply want to capture your road trips, a dash cam can be an excellent investment. A dash cam is a small camera that can be mounted on the dashboard or windshield of your car to record the road ahead. In this article, we will guide you through the steps to install a dash cam in your car.
1. Why Install a Dash Cam?
There are several reasons why you might want to install a dash cam in your car. Firstly, it can provide evidence in case of an accident. Dash cam footage can help determine who is at fault and can be used in court if necessary. Secondly, a dash cam can capture footage of a scenic drive or road trip. Finally, a dash cam can be a deterrent for potential thieves or vandals.
2. Choosing a Dash Cam
Before installing a dash cam, you need to choose the right one for your needs. There are several factors to consider when choosing a dash cam, including video quality, storage capacity, and features such as GPS and Wi-Fi. Be sure to read reviews and compare different models before making a decision.
3. Required Tools and Materials

To install a dash cam, you will need a few tools and materials:
- Dash cam
- Dash cam mount
- Power cable
- Trim removal tool
- Wire stripper
- Electrical tape
- Screwdriver
- Zip ties
4. Positioning the Dash Cam
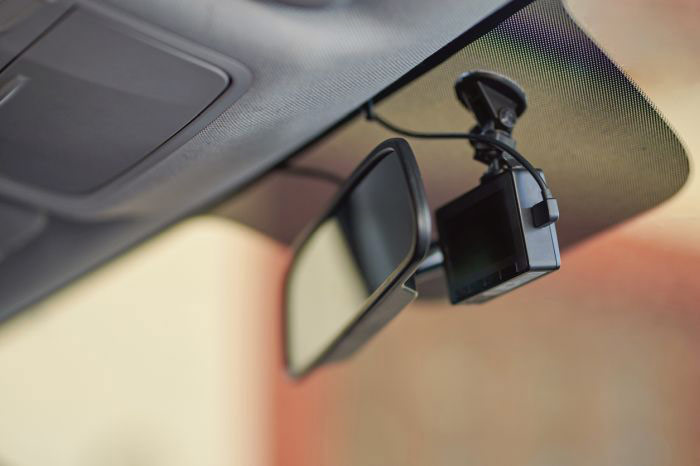
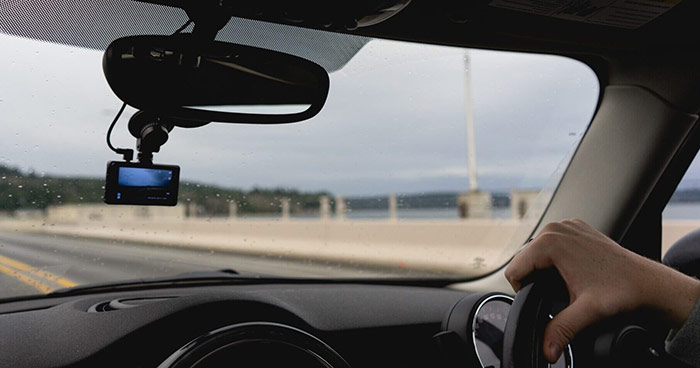
The first step in installing a dash cam is to determine the best position for it. The dash cam should be mounted in a position that provides a clear view of the road ahead without obstructing your view. Common positions for a dash cam include on the windshield behind the rearview mirror, on the dashboard, or on the rearview mirror itself.
5. Mounting the Dash Cam
Once you have determined the best position for the dash cam, you can mount it using the dash cam mount. Most dash cam mounts use adhesive to attach to the dashboard or windshield. Use the trim removal tool to remove any panels or covers that may be in the way of the mount.
6. Wiring the Dash Cam
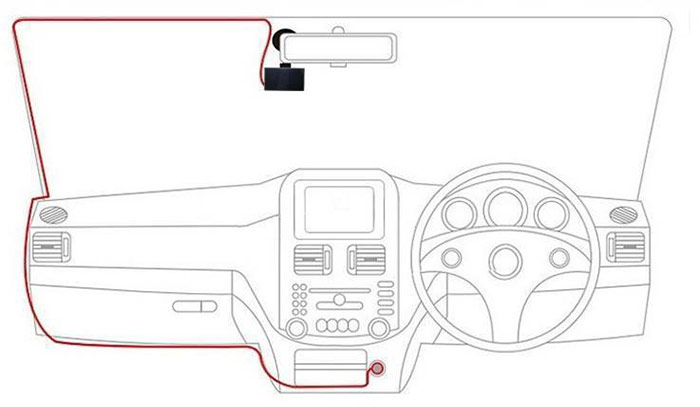
After mounting the dash cam, you need to wire it to the power source. Start by running the power cable along the edge of the windshield and down the side of the car. Use zip ties to secure the cable in place and prevent it from dangling or interfering with your view.
7. Connecting the Dash Cam to Power
Next, you need to connect the dash cam to power. Most dash cams come with a power adapter that plugs into the cigarette lighter or USB port in your car. Alternatively, you can hardwire the dash cam to the car’s electrical system. This option requires more advanced wiring skills and may require professional installation.
8. Adjusting Dash Cam Settings
Once the dash cam is installed and connected to power, you can adjust the settings to suit your preferences. Common settings include video resolution, frame rate, and loop recording. Be sure to read the instructions that come with your dash cam to learn how to adjust the settings.
9. Testing the Dash Cam
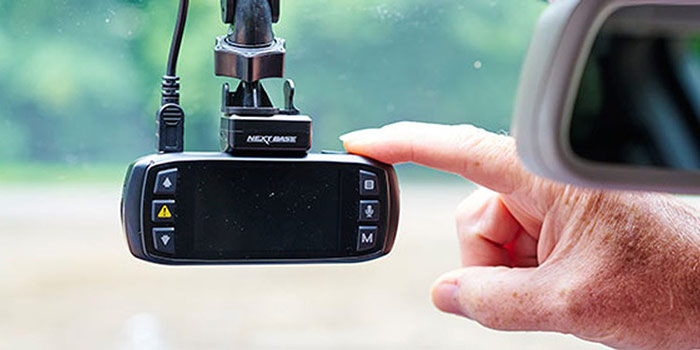
Before hitting the road, it’s important to test the dash cam to ensure it’s Before hitting the road, it’s important to test the dash cam to ensure it’s working properly. Turn on the car and check that the dash cam turns on automatically. Adjust the angle and position of the dash cam as needed to get the best view. Record a short test video and check that the footage is clear and free from any glitches or issues.
10. Maintaining the Dash Cam
To ensure that your dash cam continues to function properly, it’s important to maintain it regularly. Keep the lens clean and free from dirt and dust, and check the cables and connections periodically to ensure they’re secure. If you notice any issues with the dash cam, address them promptly to prevent any potential problems.
11. Frequently Asked Questions
[wpsm_accordion][wpsm_accordion_section title=”Do I need to remove the dash cam when I park my car?”]It’s not necessary to remove the dash cam, but you should ensure that it’s positioned in a way that doesn’t draw attention to it and make it a target for thieves.[/wpsm_accordion_section][wpsm_accordion_section title=”Can I install a dash cam myself or do I need professional installation?”]You can install a dash cam yourself, but if you’re not comfortable with wiring or don’t have the necessary tools, professional installation may be a better option.[/wpsm_accordion_section][wpsm_accordion_section title=”How much storage capacity do I need for my dash cam?”]The amount of storage you need depends on the length and quality of the videos you’re recording. A 32GB memory card can typically store several hours of footage.[/wpsm_accordion_section][wpsm_accordion_section title=”Will a dash cam drain my car battery?”]Most dash cams are designed to turn off automatically when the car is turned off to prevent draining the battery. However, if you’re concerned about this, you can use a battery discharge prevention device.[/wpsm_accordion_section][wpsm_accordion_section title=”Can I use a dash cam in hot or cold weather?”]Yes, most dash cams are designed to function in a range of temperatures, but be sure to check the specifications to ensure it can handle extreme temperatures.[/wpsm_accordion_section][/wpsm_accordion]
12. Conclusion
Installing a dash cam in your car can provide peace of mind and added security while on the road. By following these steps and taking the time to choose the right dash cam for your needs, you can ensure a smooth and successful installation. Remember to test the dash cam before hitting the road and maintain it regularly to keep it functioning properly.


